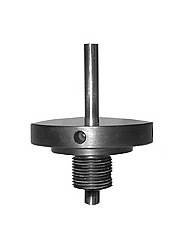
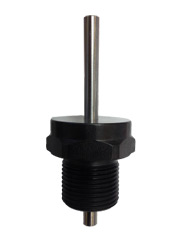
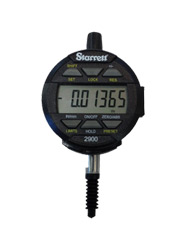
Dow-Gages are used on the shop floor, for in-process and post-process inspection of precision-machined parts.
Our Engineering Department works closely with the customer to provide a sensible solution to the gaging requirement. From a customer supplied part drawing or sketch, we will develop a concept and furnish a quote for design and manufacture of the customized Dow-Gage.

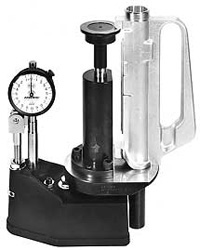
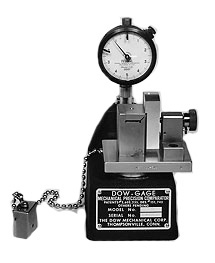
Model 10 Gage
Die cast aluminum base supports an adjustable indicator mounting post. Internal components consist of a hardened and ground indicator actuator pin, an adjustable over travel stop assembly, and a one-to-one lever assembly for precise linkage from the gage pin in the staging fixture to the dial indicator fastened to the mounting post.
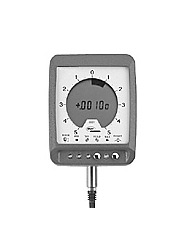
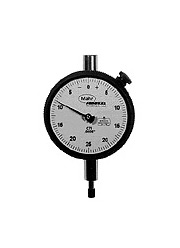
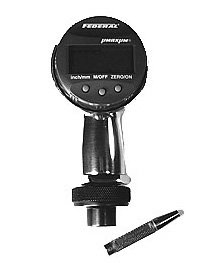
Will accept ANSI/AGD Group 2 mechanical and digital electronic indicators as well as Mahr Federal Maxum® electronic indicators with integral AGD backs.
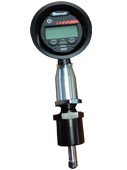
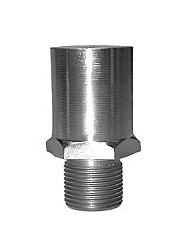
Tacomp Stub
Polished aluminum forging with steel components machined to receive ANSI/AGD Group 2 dial indicators. Models available for Mahr Federal mechanical indicators (TS-F), Mahr Federal Micro Maxum II digital electronic indicators (TS-M) and L.S. Starrett Model 2900 electronic indicators (TS-ST).
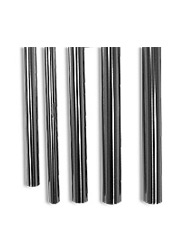
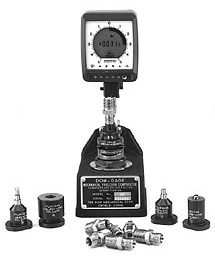
Will accept all types of Dow tooling including Standard Flush Pin Blanks, customized Educated Flush Pin Gages, Standard Stage Sets, and customized Special Stage Sets with Setting Masters.
GAGE VIDEOS
Dow Gage Set Up
Flush Pin Demo
Fly Wheel Part
Small Shaft Demo
Custom Products
This illustration features a Model 10 Dow-Gage customized to check a length/height dimension on the upper receiver of an M-16 rifle. Due to the size of this forged aluminum part, the Special Stage Set has been designed with an adjustable foot to provide additional stability, and the dial indicator has been oriented to the side for better visibility, utilizing our GA-45 Right Angle Mounting Bracket. For over sixty years, Dow-Gages have been customized to check various dimensional characteristics found on military and civilian firearms components.
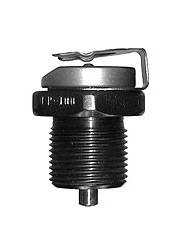
Customized Educated Flush Pin Gages for 5 different dimensions in a hydraulic fitting – This illustration demonstrates the versatility of our Educated Flush Pin Gage System for checking multiple dimensions in/on the same part. In this example, a Model 10 Dow-Gage is equipped with an FP-100 Flush Pin Adapter, a suitable dial indicator and a set of five Special Educated Flush Pin Gages. With this set-up, the inspector checks five different dimensions in the same hydraulic fitting. Dimensions checked include a 40 female taper, a depth to a gage diameter in a female taper, a length from the end of the part to a shoulder, and the depth from a gage diameter to another feature within the part. Once the Dow-Gage has been set to “0″, the individual Special Educated Flush Pin Gages can be interchanged in a matter of seconds without re-zeroing the Dow-Gage. The simplicity, speed, and accuracy of this Educated Flush Pin Gage System makes it ideal for typical screw machine parts, fittings, and precision machined components.
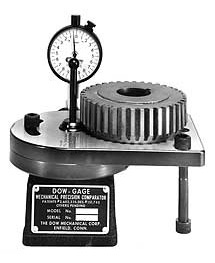
The Dow-Gage in this illustration checks the angle of taper of the chamfer on a large ring gear (truck transmission part). Since 1946, Dow-Gages have been used by our automotive customers to inspect components of fuel delivery systems, diesel injection systems, anti-lock braking systems, supplemental restraint systems, steering and transmission parts, and miscellaneous other critical automotive and truck components.
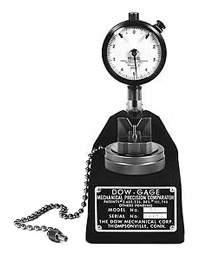
The Dow-Gage pictured checks the outside diameter of a small shaft with an adjacent shoulder. The Special Stage Set locates the part in a precision ground “V” while the shoulder of the part stops against the outside face of the “V” block. The Dow-Gage is set to “0” with the Set Master which is pictured in the foreground. The outside diameter of the production parts is then compared to the master setting. Checking rates in excess of several hundred parts an hour are possible.
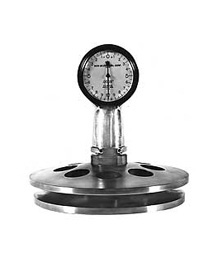
The illustration features our hand held TĀCOMP STUB gage equipped with a Special Stage Set designed to check position of taper in a large truck transmission part. The gage is set to “0” with a Taper Ring Master which positions a gage diameter in the taper at the required depth from the face. Note: master is not shown. To reduce the weight of the Special Stage Set, eight one-inch diameter holes have been drilled through the stage body. While the Model 10 Dow-Gage is limited to Special Stage Sets of not more than five inches in diameter, special tooling for the TĀCOMP STUB is limited in size by only what is practical to lift.
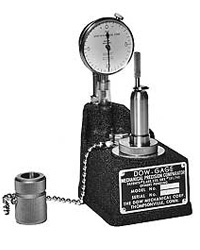
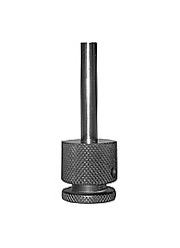
This Dow-Gage has been customized to check a depth to an internal groove in a fuel delivery system component. The gage is set to “0” with the Special Set Master shown chained to the Dow-Gage. The part is placed on the gage and the head of the pin is turned and depressed to locate on the surface of the groove. Deviation from the zero setting is read on the dial indicator.
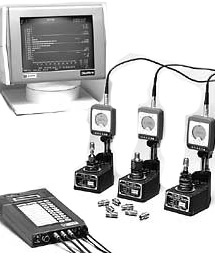
Dow-Gages with data collector for SPC Technology – The three Dow-Gages shown above are equipped with electronic dial indicators with digital output. The indicators are connected to a data collector for Statistical Process Control. The combination of customized interchangeable Educated Flush Pin tooling with fast and accurate data collection provides an ideal method for inspection of typical screw machine parts such as the hydraulic fittings shown.
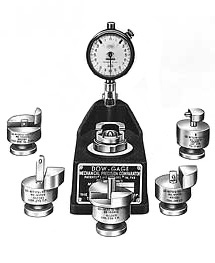
Customized Educated Flush Pin Gages – This illustration features the Model 10 Dow-Gage equipped with an FP-100 Flush Pin Adapter and five Special Educated Flush Pin Gages designed to check five different hole locations. Once the Dow-Gage has been set to “0”, the individual Special Educated Flush Pin Gages can be interchanged in a matter of seconds without re-zeroing the Dow-Gage. The simplicity, speed, and accuracy of the Educated Flush Pin Gage System makes it ideal for checking screw machine parts, fittings, and precision machined components.
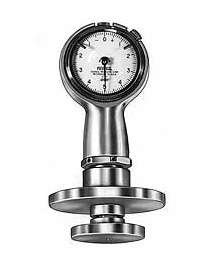
The TĀCOMP STUB in this illustration is equipped with a Special Stage Set designed to check the depth of a large counter bore. The gage is zeroed with a Special Setting Master (not shown) and the production parts are checked as fast as the operator can place and depress the gage on the part. Checking rates in excess of several hundred parts per hour can be achieved with the Dow System for Simplified Dimensional Control.
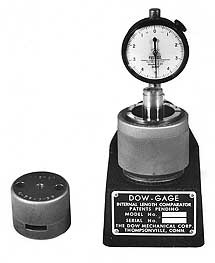
The picture shows a Model 10 Dow-Gage with a Special Stage Set and Master designed for checking a counterbore depth in a high production automotive part. The top of the pin and stage body feature tungsten carbide rings which provide greater wear resistance for high volume production. Our gage designers and toolmakers have extensive experience working with carbide and Ferro tic-C to insure this added wear resistance where required.
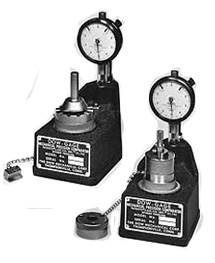
Position of Two Internal Ring Grooves – These Dow-Gages check the position of two internal ring grooves in the same military ordnance part. From the days of The Korean War to the present, Dow-Gages have been used for the inspection of military fuse and projectile components manufactured by major munitions and ordnance plants throughout The United States.
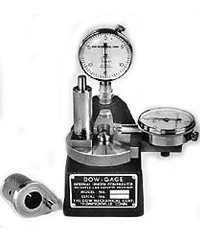
The Dow-Gage pictured here is customized to check two characteristics, length and center distance, simultaneously in the same military component. A separate dial indicator attached to the Special Stage Set checks the center distance while the dial indicator mounted on the Dow-Gage reads the length. The indicators are set to “0” using the Special Set Master shown at the left.
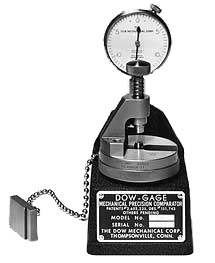
Depth to an Internal Gage Diameter – The Dow-Gage in this illustration has a Special Stage Set which utilizes a spring loaded depressor rod to “square up” the part for the check. Because the internal gage diameter is located in a fairly broad angle, the part would be difficult to settle down on the gage without this added feature. Direct pressure from above locates the part over the gage diameter which is ground on the gage pin directly below. The Special Set Master is shown at the left.
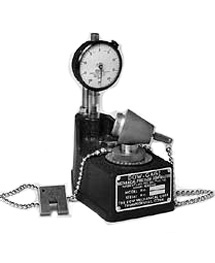
This example features a Model 10 Dow-Gage customized with a Special Stage Set designed to check the depth of a cross hole to the centerline in the military fuse component shown. The gage is set to “0” with the Special Master shown at the left. Since 1946, we have designed and manufactured Dow-Gages to check various dimensional characteristics in military ordnance such as fuse components, projectile bodies, rifles, grenade launchers, and pistols.
This Dow-Gage is customized to check a dimension from the shoulder of a part to the centerline of a hole on the opposite side of the part. The Special Stage Set features a plunger with a tapered pin which locates the centerline of the hole through the part as the gage pin picks up the shoulder surface on the opposite side. The Special Set Master is shown chained to the gage at the left. The actual part is shown in its checking position in the gage.

This example features our “hand held” TĀCOMP Stub gage with a Special Stage Set and Setting Master for checking position of taper on a large military projectile. The TĀCOMP Stub gage was chosen over the Model 10 Dow-Gage because of the size of the part being checked. While the Model 10 Dow-Gage limits the size of the Special Stage Sets to approximately five inches in diameter and five to six inches in height, Special Stage Sets for the TĀCOMP Stub are limited in size by only what is practical to lift and place on the part. To reduce weight, large slots were milled in the Special Stage. The Special Master simulates the part, with a dimension held from the end face to a gage diameter located on the large tapered O.D. In this application, the inspector grips the TĀCOMP Stub and lowers the gage over the end of the projectile, reading deviation from mean zero on the dial indicator.
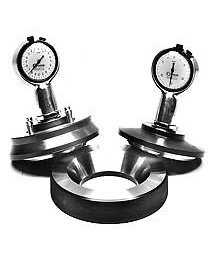
Angle and Position of Taper (female) – These two TĀCOMP Stub gages are designed to check both angle of taper and position of taper in a large truck transmission part. Both gages are set to “0” with the Taper Ring Master shown. The gage on the left has a spring loaded pressure pad to square the gage to the face of the part and check the 70ْ included angle. The gage on the right uses the same Taper Ring Master to check the depth from the face of the part to a gage diameter on the 70ْ included angle. Both characteristics can be checked as fast as the inspector can place the gage on the part, depress it, and note the indicator reading.

The TĀCOMP Stub shown here is customized to check the angle of taper on a small machine spindle quill shank. The gage is set to “0” with a Taper Plug Set Master which replicates the male taper on the quill shank. The production parts are compared to the master taper as rapidly as the operator can place the part into the gage and note the reading on the indicator. Checking rates of several hundred parts per hour to sine bar accuracy are possible.
This example features our “hand held” TĀCOMP Stub gage with a Special Stage Set and Setting Master for checking position of taper on a large military projectile. The TĀCOMP Stub gage was chosen over the Model 10 Dow-Gage because of the size of the part being checked. While the Model 10 Dow-Gage limits the size of the Special Stage Sets to approximately five inches in diameter and five to six inches in height, Special Stage Sets for the TĀCOMP Stub are limited in size by only what is practical to lift and place on the part. To reduce weight, large slots were milled in the Special Stage. The Special Master simulates the part, with a dimension held from the end face to a gage diameter located on the large tapered O.D. In this application, the inspector grips the TĀCOMP Stub and lowers the gage over the end of the projectile, reading deviation from mean zero on the dial indicator.
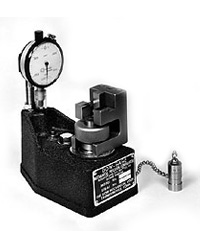
Length to an External Gage Diameter – The Dow-Gage in this illustration checks the length from the end face to an external gage diameter on this automotive engine part. The Special Set Master shown chained to the gage replicates the part and sets the gage to “0”. The production parts are then compared to the master, resulting in fast and accurate in-process inspection of this characteristic. Since this is a high volume job, tungsten carbide is used at the contact points of the Special Stage Set to provide enhanced wear resistance.

